

Tomato and Date Chutney from the Thermomix® relies on two ingredients that balance each other: 50 g of dried dates provide the full sweetness, while 30 g of apple cider vinegar brings the clean acidity. That is why we need only a single tablespoon of sugar in the whole pot, and that is exactly what sets this chutney apart from shop-bought versions, where cane sugar often appears third or fourth on the ingredients list.
We make this chutney every year during the tomato glut at the end of August, cooking several batches in a row. From 500 g of tomatoes you get roughly 750 g of finished chutney, which fills three 250 ml preserving jars. Stored in a cool, dark place it keeps for six months, and that is exactly how long we need it: it goes with cheese, grilled meat, sausages, fried potatoes and even cold roast meat in a sandwich.
Tomato and Date Chutney with the Thermomix®
Ingredients 0 / 11 ✓
- 2 stalks spring onions
- 30 g fresh herbs e.g. oregano, chives, rosemary
- 50 g dates, pitted and dried
- 1 dried chilli
- 30 g rapeseed oil
- 500 g tomatoes
- 1 tbsp sugar
- 2 tbsp tomato puree
- 1 tsp salt
- 1/2 tsp turmeric
- 30 g apple cider vinegar
Instructions 0 / 5
-
1
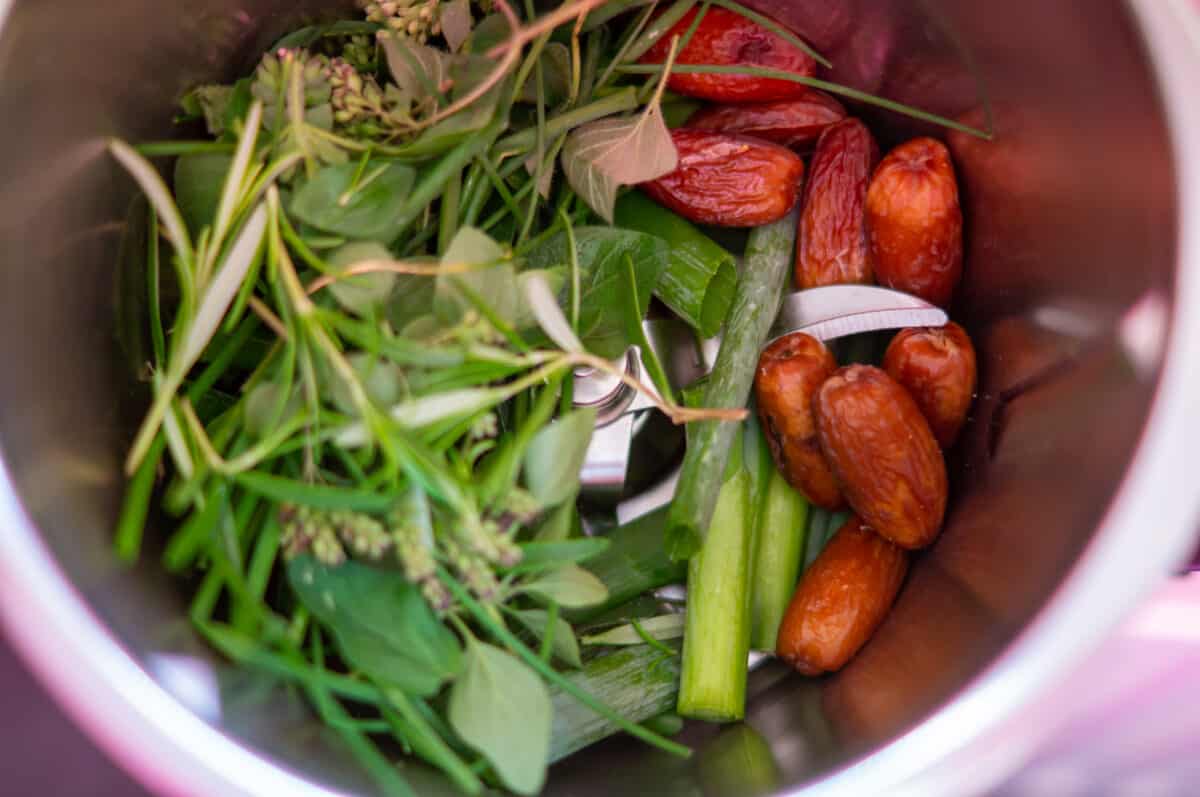
Chop the ingredients.
Wash and trim the spring onions, cut into pieces and place in the mixing bowl together with the washed and shaken-dry herbs, dates and dried chilli. Chop for 6 sec / speed 8.
-
2
Sweat the ingredients.
Scrape down with the spatula, add the oil and steam for 3 min / Varoma / speed 1.
-
3
Cook the chutney.
Wash the tomatoes, halve them and remove the stalks, then add to the mixing bowl together with the remaining ingredients and cook for 10 min / 100°C / speed 1.
-
4
Sterilise the jars.
Meanwhile, sterilise the jars and lids with boiling water.
-
5
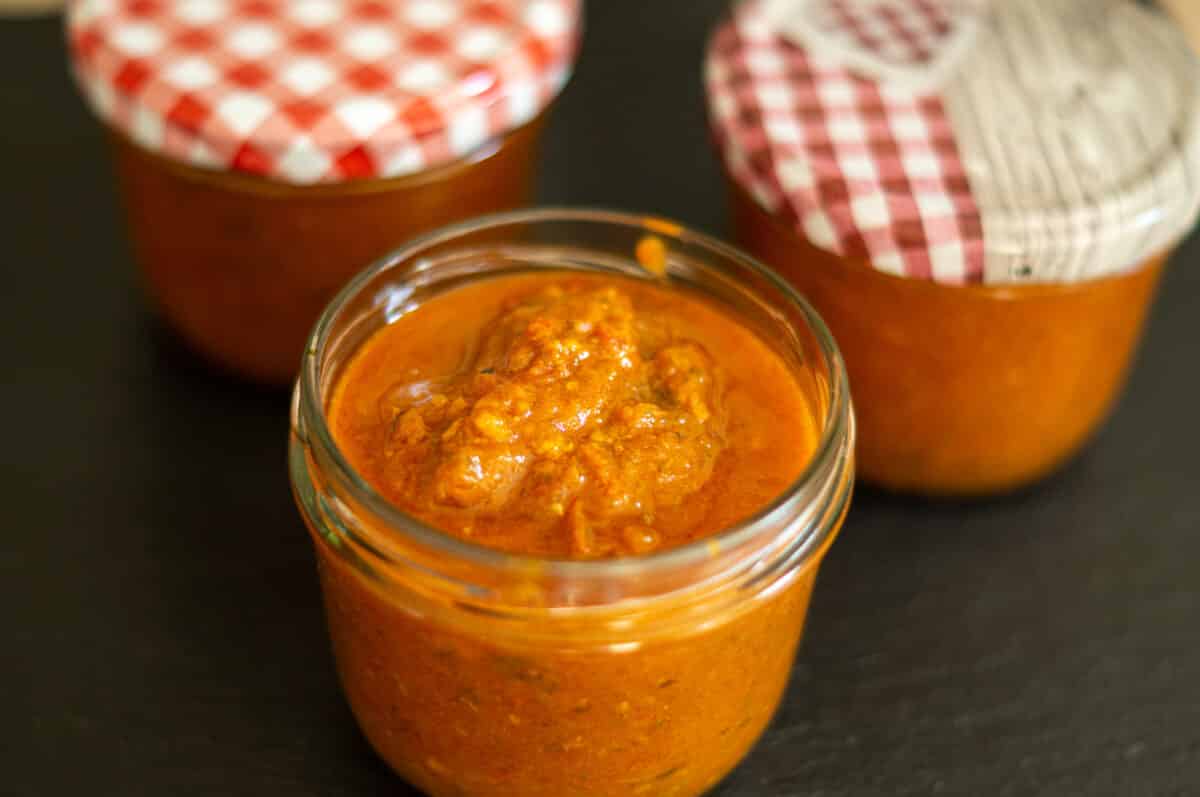
Fill the chutney.
Fill the Tomato and Date Chutney into the prepared jars, seal and store in a cool, dark place.
Tip: The herbs can be varied to taste. The amount of chilli and dates can also be increased if you prefer more heat or sweetness.
Video
Nutrition per serving
Why dates instead of more sugar
Dates bring three things at once that plain white sugar cannot. First, they contain fructose and glucose in a natural ratio, which tastes fuller on the palate than the pure sucrose from the sugar jar. Second, the fibres of the fruit bind water during cooking, so the chutney thickens naturally without any need for starch or pectin. Third, dates have a lightly caramel background that rounds out the acidity of the tomatoes and apple cider vinegar rather than masking it.
We use pitted, dried dates. Fresh Medjool dates also work, but use 60 g instead of 50 g because they contain more water and therefore deliver less sweetness per gram. Anyone who prefers less sweetness can reduce to 40 g of dates and leave out the tablespoon of sugar entirely. For a fruitier variation, mix 30 g of dates with 20 g of dried apricots. That noticeably shifts the flavour profile towards summer.
The order in the mixing bowl is not accidental
In the first step, spring onions, herbs, dates and the dried chilli go into the mixing bowl together for 6 seconds at speed 8. These four ingredients help chop each other: the firm dates and chilli help the softer spring onions and herbs reach an even size rather than turning to mush. If you leave out the dates and chilli and blend only herbs, you end up with green liquid in the bowl. The firm components create a mixture with real texture.
The rapeseed oil goes in next, and we sweat everything for 3 min / Varoma / speed 1. This step looks minor but is central to the flavour. The gentle heat draws out the sharp sulphur compounds from the spring onions and replaces them with a mild sweetness. Anyone who skips this step and tips the tomatoes straight onto everything else will taste raw onion in the finished chutney, and it bites.
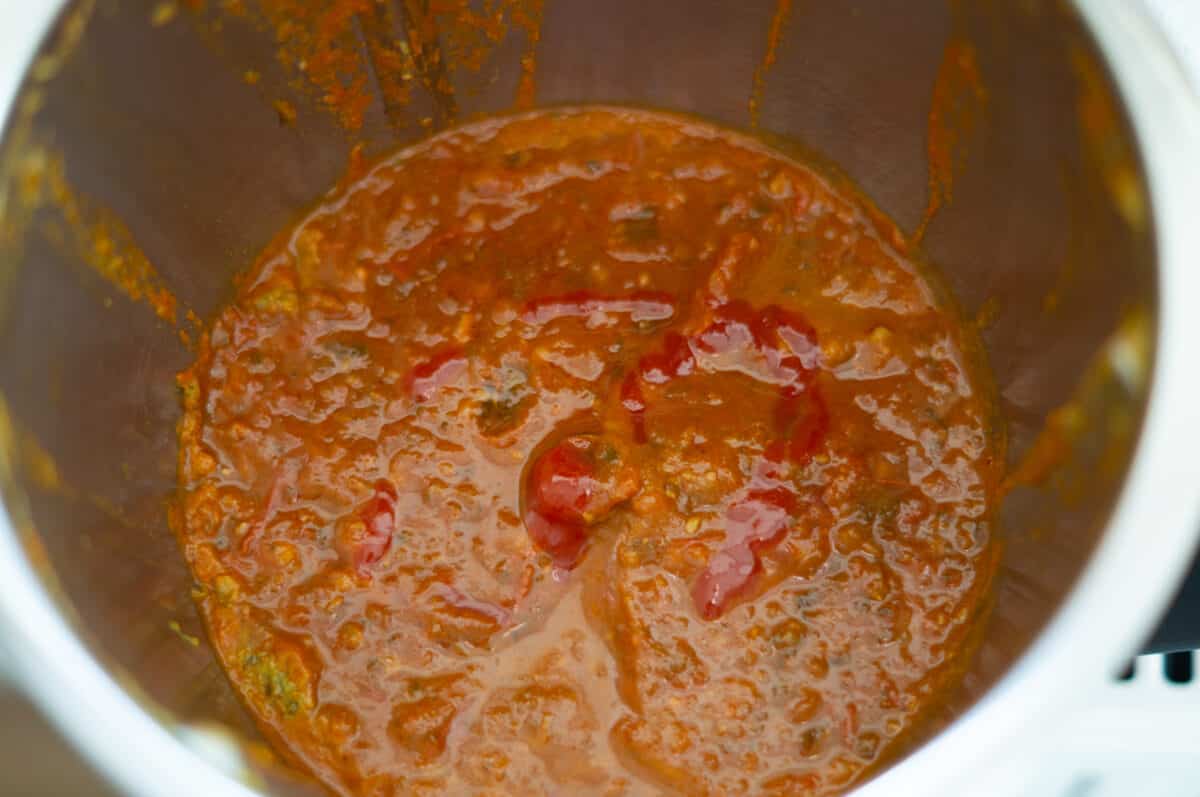
Only then do the 500 g of halved tomatoes without stalks, the tablespoon of sugar, 2 tbsp of tomato puree, 1 tsp of salt, the half teaspoon of turmeric and 30 g of apple cider vinegar go in. We cook for 10 min / 100°C / speed 1, and by the end of those ten minutes the mixture is noticeably darker than at the start. The tomato puree caramelises slightly, the turmeric turns the chutney golden red, and the apple cider vinegar cooks down to a gentle acidic background.
Which tomatoes actually work
We only use fully ripe, sun-ripened tomatoes from August or September. Vine tomatoes from the supermarket in February have too much water and too little flavour, making the chutney pale and thin. Ideal varieties are ox-heart tomatoes, San Marzano or simply ripe farm tomatoes from a farmers market. With very juicy varieties it is worth quartering the tomatoes first, letting them drain briefly in a sieve and using only the flesh.
If the mixture is still too thin after 10 minutes, simply cook for a further 5 min / Varoma / speed 1 without the measuring cup. This allows excess water to evaporate without the chutney catching on the sides. It happens regularly with particularly watery tomatoes and is not a flaw in the recipe.
Sterilising determines six months of shelf life
While the ten-minute cook is running, we sterilise the jars. We use three 250 ml preserving jars, which is exactly the right amount for the 750 g of chutney this recipe produces. We rinse the jars and lids with hot water, then pour boiling water into them, leave it for 30 seconds and pour it out. This kills all the bacteria that could cause mould.
The hot chutney goes straight into the still-warm jars. Seal immediately, turn briefly upside down and leave for five minutes. This vacuum trick pulls the lid down firmly and ensures the familiar dimple forms as the jar cools. If that dimple is visible, the chutney will keep in the larder for six months. Without the dimple, the jar goes in the fridge and should be used within two weeks.
When the supply runs low: what we eat the chutney with
On a board with a robust hard cheese such as aged Gouda or mountain cheese, the chutney plays its sweet-sour role perfectly. It also works well with our grainy fresh cheese or a mild homemade feta, providing a good contrast. At the barbecue we pair it with grilled sausages or a steak, where it replaces classic ketchup without any effort.
In a sandwich with cooked ham, lettuce and a spoonful of chutney, an ordinary packed lunch becomes a proper small meal. It also goes well with Indian dishes: we add a tablespoon to Butter Chicken with the Thermomix® or to a classic lentil dal. The turmeric note bridges the flavours, and the dates take the edge off the heat.
Controlling the heat without cooking again
One dried chilli per jar is our base version. It gives the chutney a pleasant warmth without real heat. Anyone who wants more spice can use two or three chillies, and definitely with the seeds, as that is where most of the capsaicin sits. Anyone who cannot tolerate any heat at all can leave the chilli out and add 1/2 tsp of smoked paprika instead. That gives a smoky background that works well with the dates.
Fresh herbs are flexible during cooking: oregano gives a Mediterranean direction, rosemary makes the chutney more suited to winter, chives keep it light and summery. We usually use a mix of two, never more than three varieties at once, otherwise the individual flavours lose their definition.
Storage and the first opening
Sealed jars live in our larder, away from the light, which protects the colour pigments in the tomatoes. Six months is achievable, after which the flavour gradually becomes a little dull. Once opened, jars go straight in the fridge and keep there for three to four weeks, provided we always use a clean spoon. Anyone who dips a crumb of bread into the jar will find mould on the surface within a week.
Freezing also works, though the texture becomes slightly more watery on thawing. We freeze the chutney in 50 g portions in an ice-cube tray. That way individual portions can be taken out for a sandwich or a sauce without opening a whole jar.
Goes well with: Cheese and meatballs.
If you enjoy other preserving classics with the Thermomix®, we also have a plum butter recipe, an onion marmalade and our apple and cinnamon jelly. All three follow the same logic as this chutney: cook long enough, fill into clean jars and store in a dark place.