


Mini wheat baguettes with the Thermomix® need just four ingredients and make 4 crispy baguettes on a single baking tray. Here is how: warm 1/2 cube of fresh yeast and 400 g water for 3 min / 37°C / speed 2, then add 600 g wheat flour type 550 and 1 1/2 tsp salt and knead for 2 min / kneading mode. Then come the two proving times that really matter: 1 hour in the mixing bowl, then another 1 hour in the tin after shaping. Bake starting at 230°C, immediately reduce to 210°C, for 8 minutes.
The mini size has a practical reason: 4 baguettes fit on a standard baking tray. Full-size French baguettes need two trays or have to be baked in batches. We bake this smaller version for barbecue evenings, buffets and as the base for our garlic cheese baguette, which is linked below.
Mini Wheat Baguettes with the Thermomix®

Ingredients 0 / 4 ✓
- 1/2 cube fresh yeast
- 400 g water
- 600 g wheat flour type 550 (or strong white bread flour)
- 1 1/2 tsp salt
Instructions 0 / 5
-
1
Warm the yeast.
Add yeast and water to the mixing bowl and warm for 3 min / 37°C / speed 2.
-
2
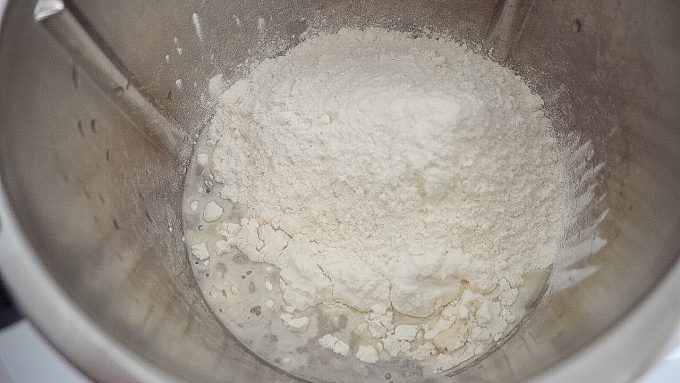
Knead the dough.
Add flour and salt and knead for 2 min / kneading mode.
-
3
First prove.
Cover and leave to prove for 1 hour.
-
4
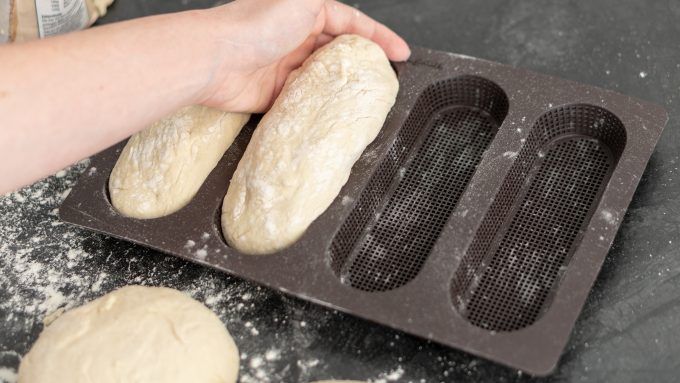
Shape and second prove.
Knead the dough once more by hand, shape into baguettes, place them in the baguette tin and leave to prove covered for another 1 hour.
-
5
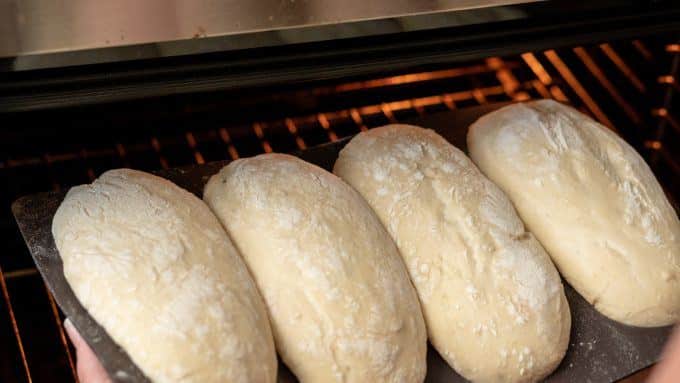
Bake the baguettes.
Preheat the oven to 230°C, then reduce the temperature to 210°C and bake for 8 minutes.
Video
Nutrition per serving
Why two proving times are non-negotiable for baguettes
Most quick Thermomix® baguette recipes work with a single resting time of 15 to 40 minutes. That is faster, but it costs exactly the volume that makes a baguette light and airy. We deliberately take the slower route with two full hours of proving time, because each phase has its own job to do.
The first hour directly in the mixing bowl lets the yeast work through the flour and build the gluten strands. This is the moment when a sticky flour-and-water mixture becomes an elastic, stretchy dough. Without this phase, the dough tears when you shape it instead of stretching.
The second hour in the tin is just as important. When we knead and shape the dough, we push out some of the CO2 that has built up. The second prove allows that gas to form again, this time inside the finished baguette shape. If you shorten this to 30 minutes, you get dense rolls rather than airy baguettes. The missing volume cannot be recovered in the oven.
Type 550 makes the difference compared to cake flour
We deliberately use 600 g of wheat flour type 550 rather than the widely available type 405. Type 550 contains more gluten protein than type 405 and fewer bran particles than type 1050. This balance produces the classic baguette crust: thin, crispy, golden brown, with an open-crumbed interior.
Type 405 produces a pale, softer crust because the flour lacks the gluten strength. Type 1050 makes the crumb denser and darker, at which point you have a wholemeal roll rather than a baguette. If you do not have type 550 in the cupboard, you can substitute 500 g type 405 with 100 g type 1050 as a close approximation. In the UK, strong white bread flour (12-13% protein) is the best equivalent.
Activating yeast properly at 37°C in the mixing bowl
The first step determines whether the baguettes rise at all. We add 1/2 cube of fresh yeast and 400 g water to the mixing bowl and warm for 3 min / 37°C / speed 2. This is where the most common beginner mistake happens: if you set the temperature higher, you kill the yeast cultures. Above around 45°C the yeast cells die and the dough will no longer rise.
This is exactly where the Thermomix® has a real advantage. Rather than gauging lukewarm water by feel, the machine holds 37°C precisely. Fresh yeast works best in this window between 35 and 38°C. If you use dried yeast, replace the half cube with one sachet (7 g) and add it directly to the flour without dissolving it in the water first.
Three common pitfalls with baguettes and how we avoid them
The baguettes spread flat and wide
On a flat baking tray, the soft dough spreads sideways during the second prove and turns wide rather than slim. Our solution: A baguette tin with grooves holds the loaves in shape. If you do not have a baguette tray, shape the dough pieces more firmly and place them close together on baking paper so they support each other.
The crust burns while the inside is still raw
At a constant 230°C, the surface turns dark brown to black after about 5 minutes while the crumb inside is still doughy. Our solution: Preheat the oven to 230°C, slide the baguettes in and immediately reduce to 210°C. The hot start drives the oven spring, and the lower baking temperature lets the crumb cook through without burning the crust.
The crust stays pale and soft
A pale crust without any crunch is usually caused by a lack of moisture in the oven and a start temperature that is too low. Our solution: Place a heatproof dish of hot water on the oven floor, or spray the shaped loaves with water before baking. The steam keeps the surface flexible in the first few minutes so the baguette can spring open and develop volume before the crust sets.
Herbs, olives and seeds: how we vary the basic recipe
Herb baguette: Add 1 to 2 tsp dried herbes de Provence or 2 tbsp freshly chopped rosemary together with the flour. Great with tomato soup and grilled vegetables.
Olive variation: After kneading, fold in 80 g pitted, roughly chopped black olives for 10 sec / reverse direction / speed 2 so they are not broken up.
Seeded crust: Brush the shaped loaves with water before the second prove and roll them in sesame seeds, sunflower seeds or poppy seeds.
Slightly softer crumb: Knead 20 g olive oil into the dough. The baguette will be a little more moist and stays fresh for a day longer.
Garlic cheese baguette as the most popular topping
Goes well with: Butter, cheese and hummus.
These mini baguettes are the base for our garlic cheese baguette. After baking, halve them lengthways, spread with garlic butter, top with grated cheese and grill for 5 minutes. The full recipe:
How to keep the baguettes crispy for 2 days
We wrap freshly baked baguettes in a clean tea towel and store them at room temperature. This keeps the crust crispy for around 2 days. In a bread bin or a plastic bag, the crust goes soft within a few hours because the moisture builds up.
After 2 days, the baguettes can be revived: put them in the oven at 180°C for 5 minutes and the crust comes back to life. Freezing works well too. Leave them to cool completely after baking, freeze individually and, when needed, bake straight from frozen at 180°C for 10 minutes. That way we always have fresh baguettes ready without starting from scratch every time.
Frequently asked questions about mini baguettes with the Thermomix®
More baguette recipes from our bakery:
- Thermomix® Baguette
- Spelt Baguette
- Baguette Rolls
- Stick Bread Dough Thermomix®