


Nine minutes in the Thermomix®, then just under two hours of patience. The plaited bread itself does not take much effort. What makes or breaks it is timing: too little proving time and the loaf stays dense. Get the proving time right and you cut into a light, tender crumb. The recipe makes 16 servings, needs one hour for the first rise and another 45 minutes after plaiting.
The Thermomix® takes care of two steps where yeast dough most often goes wrong: it warms the milk, butter and yeast to exactly 37°C, and it kneads the 550 g of flour in 5 minutes on kneading mode. Both together give the dough the structure it needs for a good rise. What happens after that depends on the conditions in your kitchen.
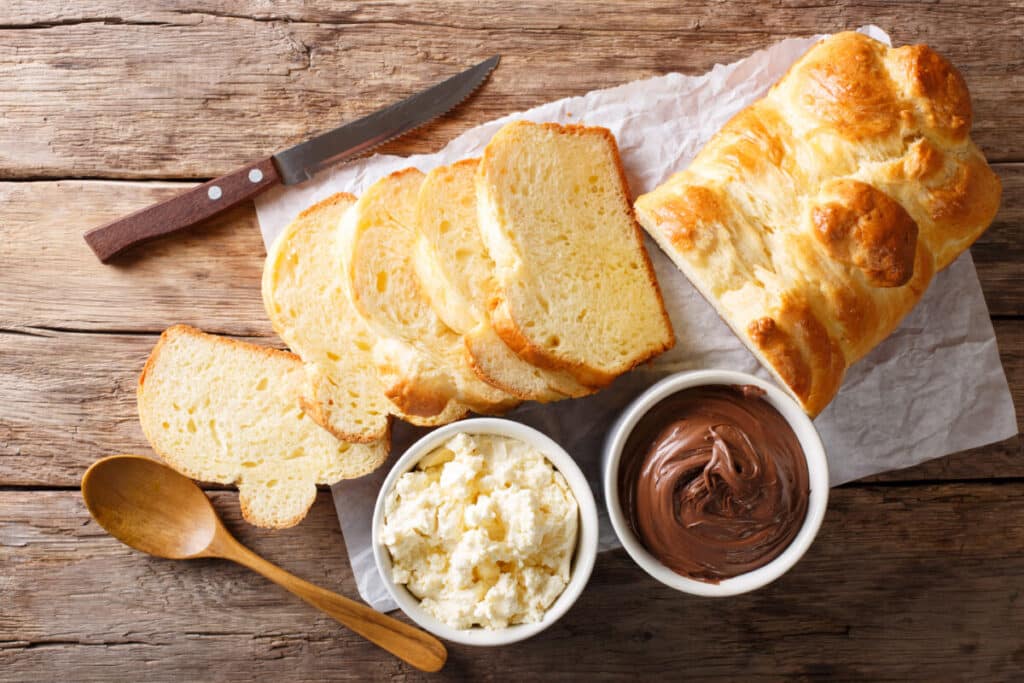
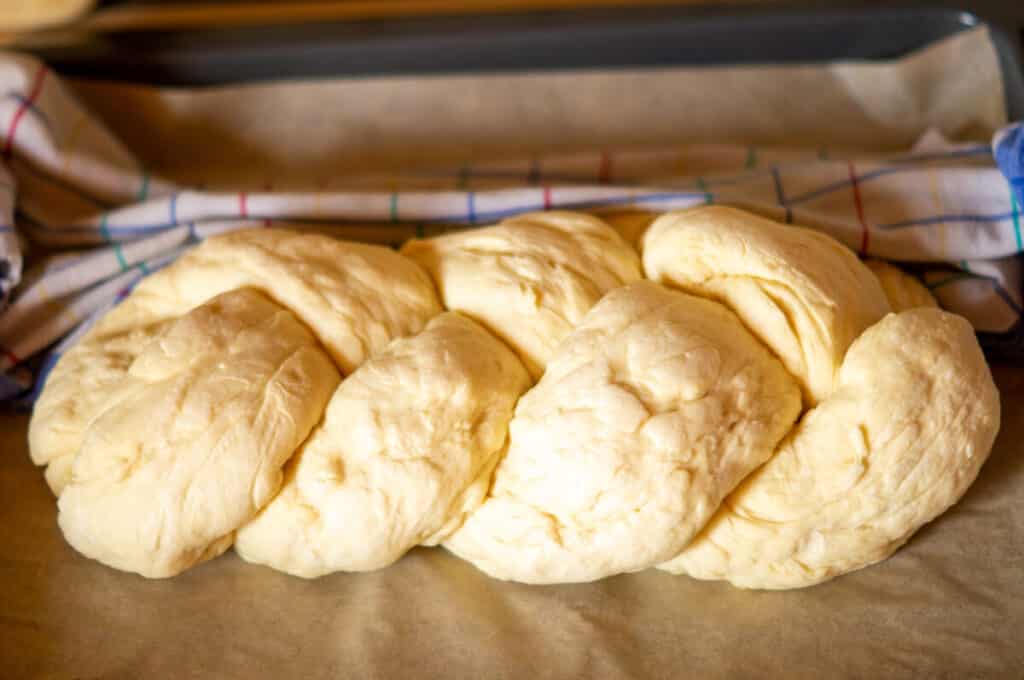
Simple Plaited Bread with the Thermomix®

Ingredients 0 / 7 ✓
- 50 g butter
- 300 g milk
- 1/2 cube fresh yeast
- 40 g sugar
- 550 g strong white bread flour (Type 550)
- 1 tsp salt
- 1 egg
Instructions 0 / 9
-
1
Warm the yeast.
Add butter, milk, yeast and sugar to the mixing bowl and warm for 4 minutes / 37°C / speed 2.
-
2
Knead the dough.
Add flour and salt, knead for 5 minutes / kneading mode, then tip the dough out, cover with a damp tea towel and leave to rise at room temperature for about 1 hour.
-
3
Prepare the baking sheet.
Meanwhile, line the baking tray with baking paper and dust the work surface with flour.
-
4
Divide the dough.
Divide the dough into three equal pieces.
-
5
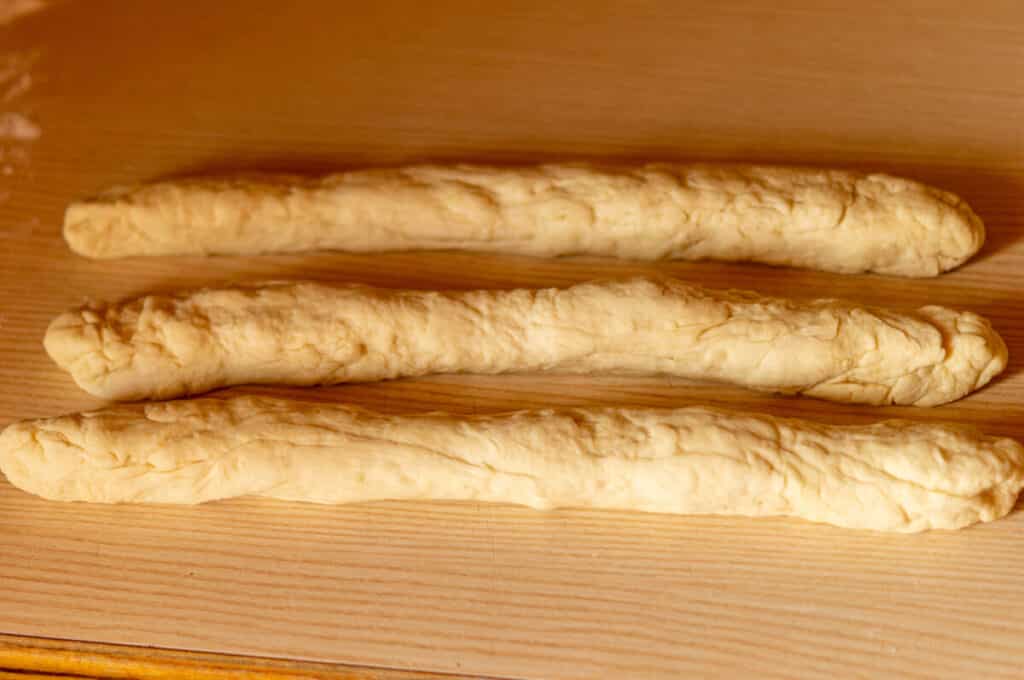
Roll the strands.
Roll each piece into a strand about 40 cm long.
-
6
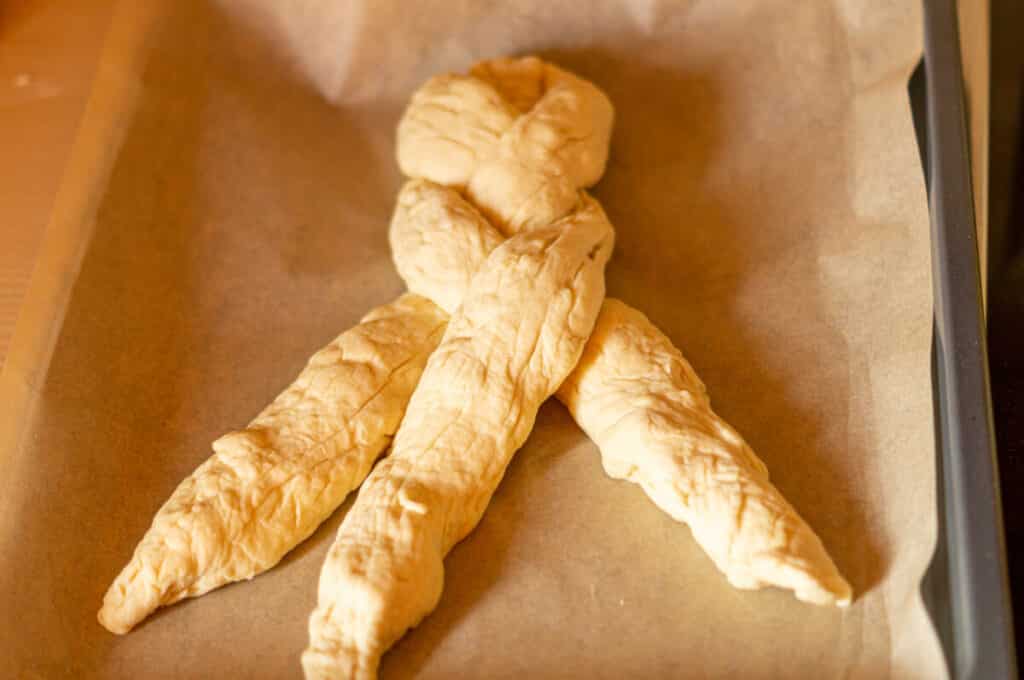
Plait.
Press the strands together at one end and plait loosely. Press the ends together to seal.
-
7
Second rise.
Place the plaited loaf on the baking tray, cover and leave to rise for a further 45 minutes.
-
8
Preheat the oven.
Meanwhile, preheat the oven to 180°C.
-
9
Glaze and bake.
Whisk the egg and brush evenly over the plaited loaf. Bake on the middle shelf for 25 to 30 minutes.
Tip: In the last step, add 1 tbsp of honey to the whisked egg before brushing it over the bread for a slightly sweeter finish.
Video
Nutrition per serving
Why the first hour matters
Yeast needs warmth, but not heat. Above 42°C the yeast cells die. That is why the warming phase at exactly 37°C is so important. The Thermomix® hits that temperature without a thermometer and without guesswork. We particularly value this with yeast dough because there is no uncertainty: either the temperature is right, or the dough will not rise.
After kneading, cover the dough with a damp tea towel and leave it at room temperature for one hour. In draughty kitchens we place it in the oven with just the light switched on. That provides enough warmth. The key point: no draughts. A window left on the tilt in the kitchen can be enough to slow the rise.
The dough must visibly double in volume. Not roughly, but really. Anyone who carries on after 45 minutes out of impatience will end up with a denser loaf. That is the trap almost everyone falls into at least once.

A word on flour and milk
This recipe uses strong white bread flour (Type 550). It has more gluten than plain flour (Type 405) and gives the loaf more structure and bite. If you only have plain flour at home: it works, but the crumb will be softer and the strands are harder to roll evenly.
For the milk, full-fat is worth it. The fat content makes the dough more supple. Plant-based alternatives work, though the result will be a little drier. We are fond of the tip from the recipe notes: stir 1 tbsp of honey into the whisked egg before brushing it over the loaf. It gives a fine gloss and a lightly caramelised note to the crust. If you prefer icing, mix 100 g of icing sugar with 2 tbsp of lemon juice and drizzle it over once the loaf has cooled.
Plait loosely, not tightly
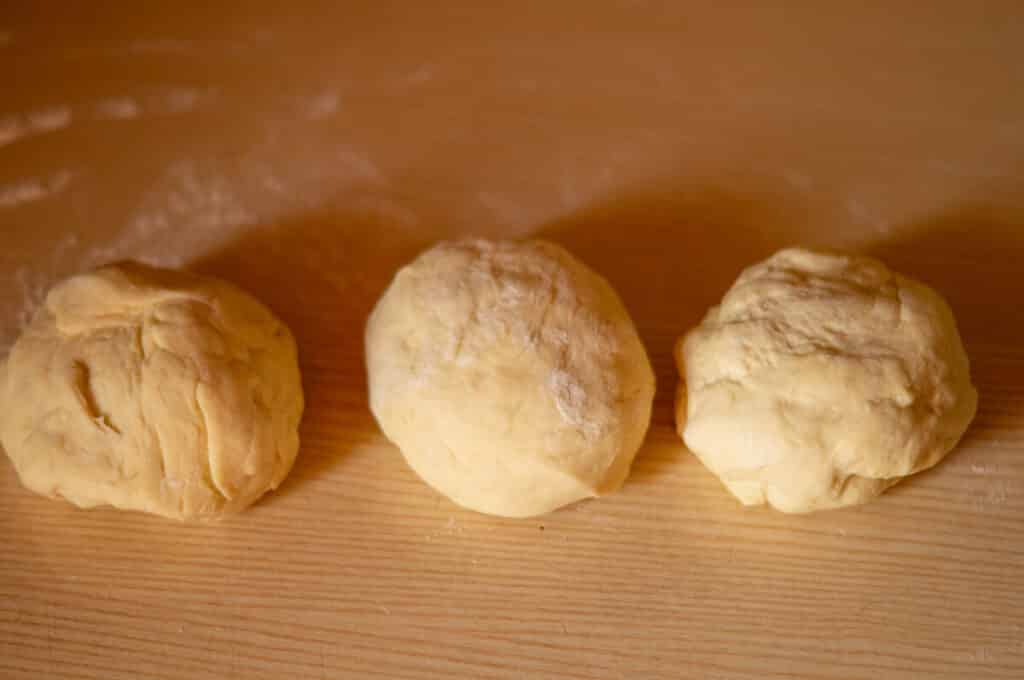
Once the dough has risen, tip it onto a floured surface. Weigh out three equal pieces and roll each into a strand about 40 cm long, working from the centre outwards. We briefly weigh them on the kitchen scales. Equal portions give you even strands.
When plaiting, one rule applies: keep it loose. The dough rises again during the second prove and in the oven. Plaiting too tightly leaves no room for that expansion and the loaf will split along the sides. If you have never thought carefully about kneading in the Thermomix®: the article on kneading with the Thermomix® explains why kneading mode is better than any other setting for yeast doughs.
The second prove and baking
Place the plaited loaf on the baking tray, cover it and leave to rise for another 45 minutes. Only once it has visibly risen, preheat the oven to 180°C top and bottom heat, brush with the whisked egg and bake on the middle shelf for 25 to 30 minutes. If after 20 minutes the surface looks dark enough already, lay a piece of foil loosely over the top. The inside will finish baking without the crust burning. You can tell by the smell: lightly caramelised, not sharp.
Wrap leftovers in a tea towel, not in cling film. Freezing works well: slice the loaf, wrap individual slices and freeze for up to 2 months. If you want to prepare the dough the evening before, cover it and leave it to rise overnight in the fridge. In the morning, leave it to come up to room temperature for 30 minutes, then plait, allow to rest briefly, and bake.
Goes well with strawberry jam made in the Thermomix® or plum butter. If you are planning an Easter bake, an Easter plaited loaf in the Thermomix® makes a more festive version of the same dough.
Note for TM31 users
This recipe uses 550 g of flour, which is just above the safe limit of 500 g for the TM31. For TM31, we recommend kneading the dough in two batches of 275 g of flour each, dividing the liquid ingredients accordingly. The TM5, TM6 and TM7 can handle up to 750 g and will process the 550 g without any restriction. The settings (37°C at speed 2, then kneading mode) are identical on all four models.
Looking for more bread recipes from the Thermomix®? The bread section on mixmyday.com brings together twelve recipes from flatbreads to pretzels.
Goes well with: butter, jam and honey.