


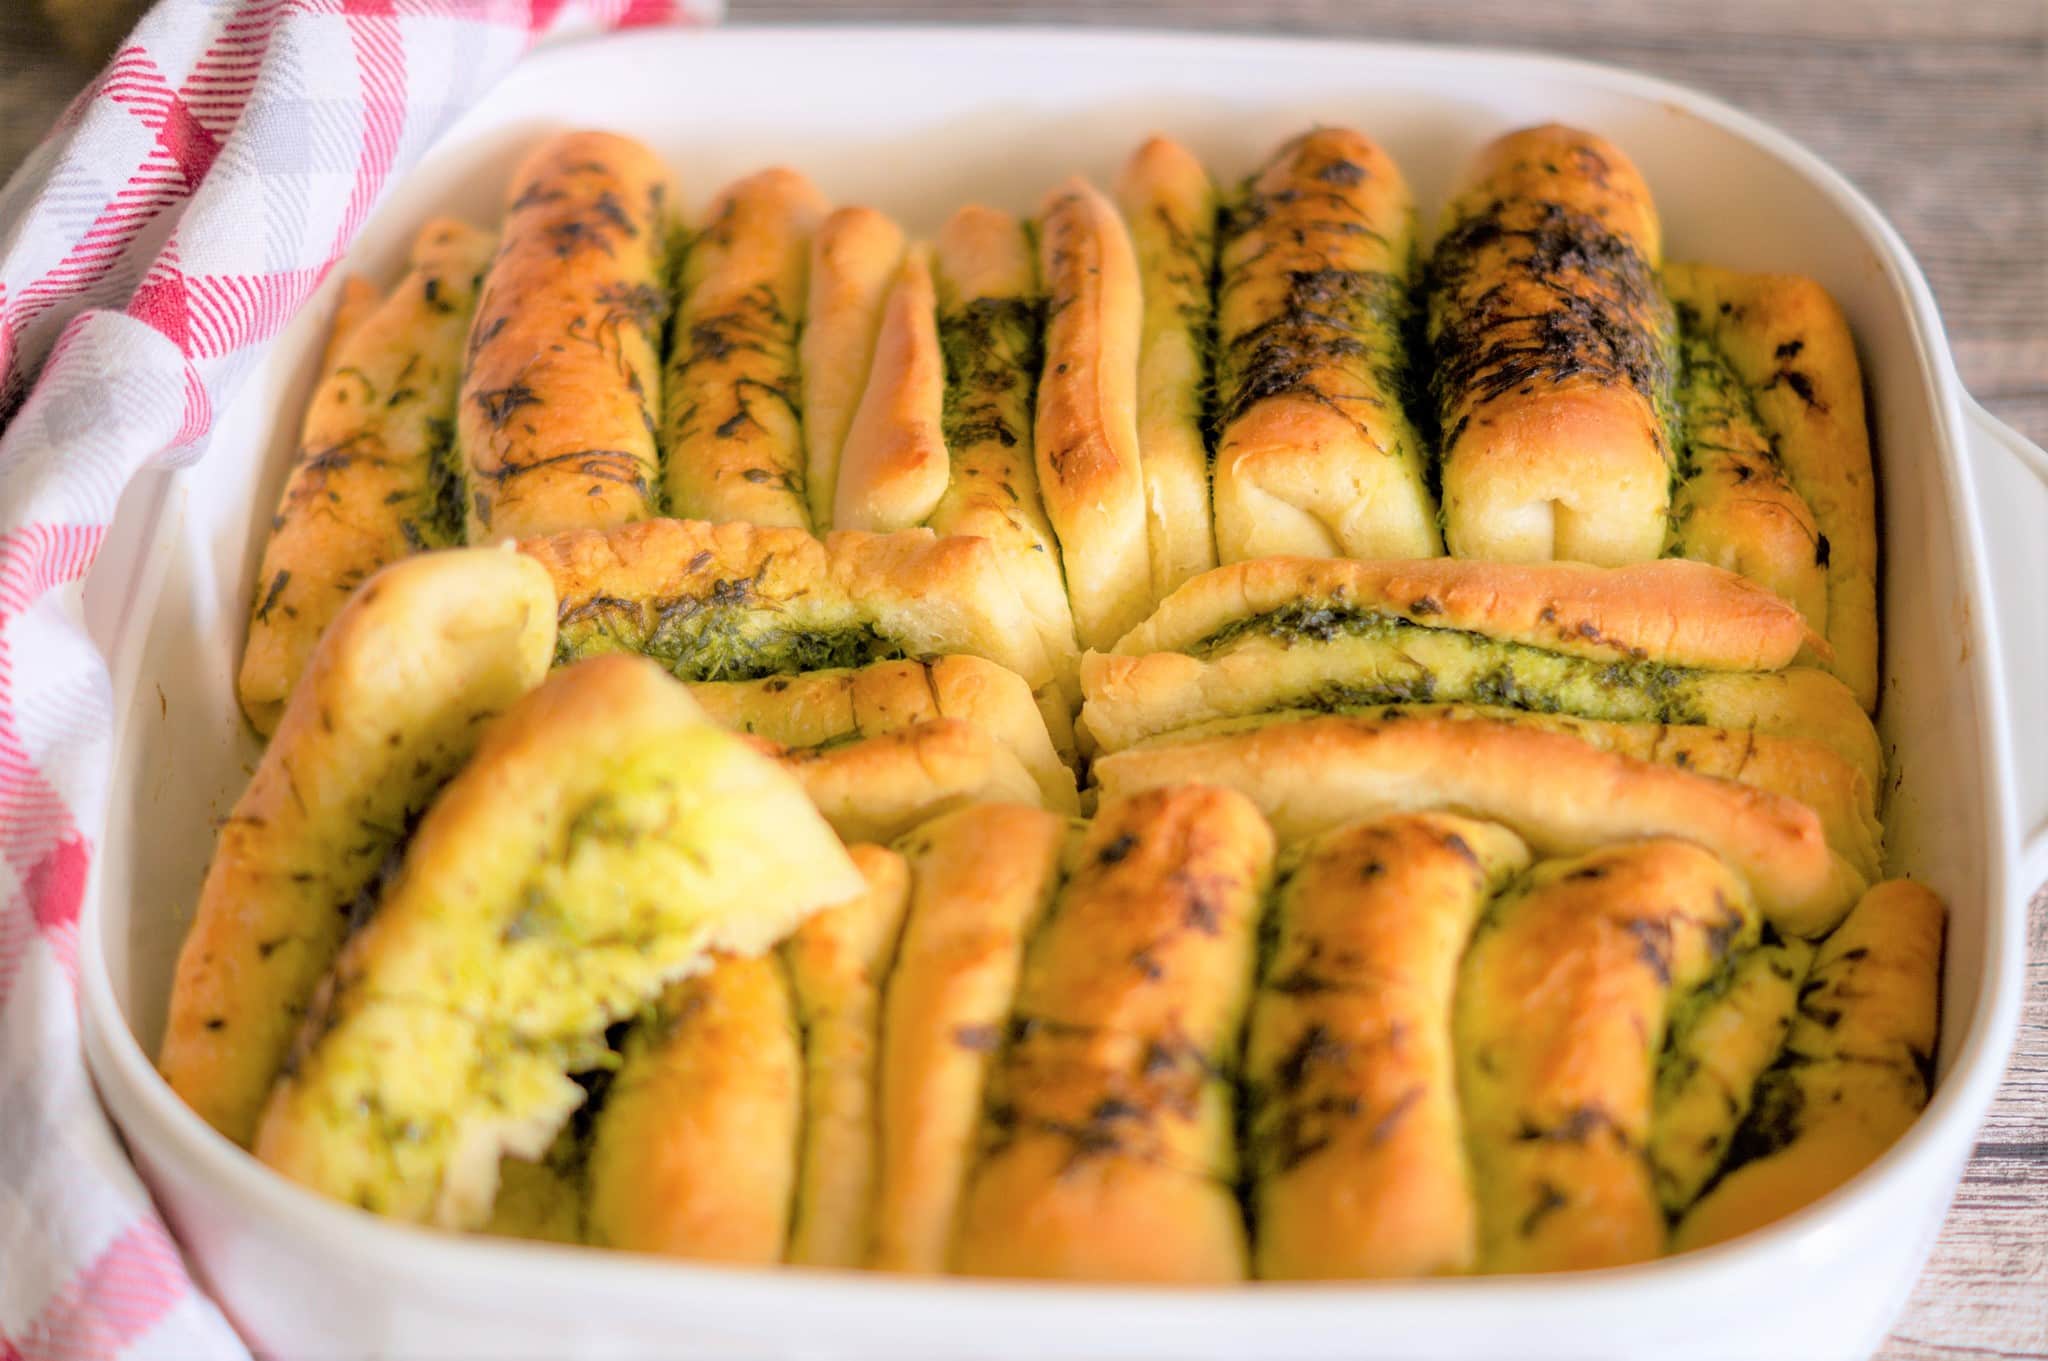
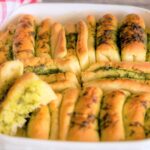
With garlic pull-apart bread, the garlic butter goes between the layers, not just on top. The dough is cut into strips, each strip spread with fresh garlic butter, and the whole thing is folded accordion-style and stacked into the tin. We bake it at 200 °C for 25 to 30 minutes, until the layers pull apart and the crust is golden brown.
We bake this bread at least a dozen times every barbecue season. It is the bread that disappears from the table before the meat is ready, because everyone just pulls off a layer. The whole business with the yeast and the folding sounds more involved than it is: 20 minutes of active work, and the rest is rising and baking. If you prefer the milder herb version, you will find the link to our Herb Pull-Apart Bread further down.
Garlic Pull-Apart Bread with the Thermomix®
Ingredients 0 / 12 ✓
- 10 g butter for greasing
- 600 g flour, type 550
- 1 cube fresh yeast
- 300 g water lukewarm
- 1/2 tsp sugar
- 2 tsp salt
- 50 g olive oil
- 2 garlic cloves
- 1 onion
- 1/2 bunch flat-leaf parsley
- 1 tsp salt
- 130 g butter cut into pieces
Instructions 0 / 7
-
1
Knead the dough.
Grease a springform tin or baking dish. Add flour, yeast, water, sugar, salt and oil to the mixing bowl and knead for 2 minutes / kneading mode. Remove the dough from the mixing bowl and roll out on a lightly floured surface into a rectangle roughly the size of a baking tray.
-
2
Chop the ingredients.
Peel the garlic and add to the mixing bowl. Peel the onion, halve it and add to the mixing bowl. Wash the parsley, shake dry and pull the leaves into the Thermomix®. Chop everything for 8 seconds / speed 5.
-
3
Mix the garlic butter.
Add salt and butter and mix for 25 seconds / speed 6.
-
4
Spread the dough with butter.
Cut the dough into 5 strips and spread with the garlic butter.
-
5
Fold the bread.
Layer the strips accordion-style, stack them in the greased baking dish and leave to rise for 15 minutes.
-
6
Preheat the oven.
Meanwhile, preheat the oven to 200 °C.
-
7
Bake and serve the pull-apart bread.
Bake the garlic pull-apart bread on the middle shelf of the oven for 25 to 30 minutes. Best served still warm.
Video
Nutrition per serving
Why the dough is kneaded first and filled afterwards
The Thermomix® kneads the yeast dough for 2 minutes on kneading mode into a smooth, elastic mass. We then roll it out on a lightly floured surface into a rectangle. Only then does the garlic butter come into play: the rolled-out dough is cut into five strips, each strip is spread with butter, and the stack is layered into the greased tin. This way the butter sits deep inside every layer, not just on the surface. If you want to prepare the garlic butter before kneading: start the dough first, then chop the garlic, onion and parsley in the mixing bowl at speed 5 and work in the butter at speed 6. You do not need to rinse the bowl in between.
Order in the mixing bowl: dough first, then butter, without rinsing
The real Thermomix® advantage with this bread is the order of steps. We knead the 600 g flour (type 550) first with the cube of yeast, 300 g lukewarm water, 1/2 tsp sugar, 2 tsp salt and 50 g olive oil for 2 minutes on kneading mode. The dough comes out and rests covered while we make the garlic butter in the same, unrinsed mixing bowl. That is exactly what saves the second bowl: 2 garlic cloves, 1 onion and 1/2 bunch of parsley go straight in and are chopped for 8 seconds at speed 5. Then 130 g of room-temperature butter and 1 tsp of salt are added, 25 seconds at speed 6, and the butter is ready to spread.
By hand, you would chop the garlic, onion and parsley separately and then cream them into the butter, which takes a good ten minutes and creates an extra bowl to wash up. The mixing bowl does both in under a minute and leaves just one piece of equipment to clean. Important: the butter really must be at room temperature, otherwise it will not come together smoothly but will stay grainy. We take it out of the fridge an hour before baking.
600 g of flour: what to keep in mind when kneading
The recipe uses 600 g flour, type 550. This works without any problems on the TM5, TM6 and TM7. On the TM31 we recommend splitting the dough quantity and kneading in two batches of 300 g each, because 600 g is at the upper limit for the TM31. The dough spatula prevents dough from getting stuck under the blade and saves you cleaning time after kneading.
15 minutes of rising time is enough
After layering, you leave the bread to rest for 15 minutes before it goes into the oven preheated to 200 °C. This short rest is enough because the dough has already been well developed in the Thermomix®. Anyone using a deep-sided loaf tin will get a more evenly risen bread than with a shallow baking dish.
Goes well with: Tomato soup and olives.
Our tip: Besen bread with the Thermomix®.
Why the layers pull apart during baking
The pull-apart effect is created not by cutting, but by steam. Between each dough layer spread with garlic butter sits a thin layer of fat, which melts in the oven and creates a clear dividing line. At the same time, the water in the dough evaporates and pushes the layers apart accordion-style. For this to work, the butter must really sit on both sides of each strip, not just the top. We therefore spread it thinly and evenly before stacking the strips and folding them into the tin. Anyone who uses cold butter risks it tearing rather than spreading: room temperature is essential. After baking, the layers can then be pulled apart cleanly with your fingers, no knife needed.
Four pitfalls that cost the pull-apart bread its layers
With pull-apart bread, it is rarely the dough that goes wrong, but the layering. These are the four mistakes we have made ourselves, along with the solution to each.
The butter runs out of the tin during baking
If the 130 g of garlic butter is spread too thickly, it melts in the oven and collects at the bottom of the tin instead of staying between the layers. The bread then turns out greasy rather than fluffy. Our solution: Spread it thinly, and it is better to leave a little butter over than to apply too much. We keep any leftover garlic butter and spread it on top after baking, which adds extra flavour without the pool of melted fat.
The dough barely rises in the 15 minutes
If the water was too hot, the yeast has been killed and the bread stays flat. 300 g of lukewarm water means at most 37 °C, so hand-warm, never hotter. Our solution: Check the water briefly with your finger beforehand. It should only feel lukewarm. If in doubt, activate the yeast first: mix the cube of yeast, sugar and the lukewarm water for 3 minutes at 37 °C / speed 2, then add the flour, salt and oil and knead.
The layers stick together after baking
If butter is missing between individual strips, the dough surfaces bake together and the pull-apart effect is lost. Our solution: Really spread each of the five strips over its entire surface, including the edges. We check again while stacking that every layer has a visible trace of butter before we fold the stack into the tin.
The top burns while the middle stays doughy
A flat, wide baking dish causes the top to brown too quickly while the lower layers are still raw. Our solution: Use a deep springform tin (26 cm diameter), which allows the bread to bake through more evenly. If the top is already dark after 20 minutes, cover it loosely with foil for the remaining time.
Four variations we bake ourselves
Mediterranean version: Chop 60 g of oil-packed, drained sun-dried tomatoes together with the garlic and onion. This gives a more robust, southern note.
Cheese pull-apart bread: Before folding, scatter an additional 100 g of grated mountain cheese or aged Gouda between the layers. The cheese goes stringy when you pull the bread apart.
Spicier: Add 1/2 finely chopped chilli or 1/2 tsp chilli flakes to the garlic butter. Goes well with hearty grilled food.
Sweet version: Leave out the salt and instead of garlic butter mix 130 g butter with 80 g sugar and 2 tsp cinnamon. This gives a cinnamon pull-apart bread to have with coffee.
What we serve the pull-apart bread with
This bread is our standard side dish for barbecues because everyone pulls off their own layer and no chopping board is needed. We like to serve it with a fresh dip: our herb quark with the Thermomix® or a homemade Tzatziki with the Thermomix® both go perfectly with the garlic notes. Anyone who wants something heartier can serve it alongside our BBQ Sauce with the Thermomix®.
If you are making this bread as a side dish for a barbecue, you can also bake it the day before and store it wrapped up. Warmed through at 150 °C for 10 minutes just before serving, it is almost as good as fresh. As a herb version we recommend our Herb Pull-Apart Bread, which uses the same folding technique but with herb butter instead of garlic butter. Anyone not yet familiar with kneading dough in the Thermomix® will find all the details on flour quantity, speed and kneading time in our post on kneading with the Thermomix®.
How to keep the pull-apart bread fresh and freeze it
The garlic pull-apart bread tastes best fresh, still warm from the oven when the butter between the layers is still liquid. Wrapped in cling film or kept in a bread box, it will keep at room temperature for 2 days. In the fridge the dough dries out more quickly, so we prefer to store it somewhere cool and dark, but not in the fridge.
Freezing works well: put the fully cooled bread in portions or whole into a freezer bag, where it will keep for 3 months. To defrost, leave it at room temperature overnight, then bake at 150 °C for 10 minutes. This makes the crust crispy again and brings out the flavour of the garlic butter. Do not refreeze baked-from-frozen pull-apart bread.
Frequently asked questions about garlic pull-apart bread with the Thermomix®
How many strips do I cut from the dough?
We cut the rolled-out dough into 5 strips, spread each one with garlic butter, stack them on top of each other and fold the stack accordion-style into the tin. From 600 g of flour this gives a bread with around 12 servings.
Which tin is right for pull-apart bread?
A deep springform tin with a 26 cm diameter gives the most even result. A shallow baking dish also works, but then the top browns faster than the middle bakes through. With the shallow option, cover with foil after 20 minutes if needed.
Can I replace fresh yeast with dried yeast?
Yes. Instead of one cube of fresh yeast (42 g), use 1 sachet of dried yeast (7 g). Mix the dried yeast directly with the flour before adding the lukewarm water.
Why has my pull-apart bread turned out dry?
It is usually down to too long a baking time or too little garlic butter between the layers. 25 to 30 minutes at 200 °C is enough. When the crust is golden brown and the bread smells ready, it is done. The butter also keeps the inside moist, so do not spread it too sparingly.
Does the recipe work without garlic?
Yes. Simply leave out the garlic and use more herbs instead, and you have a classic herb pull-apart bread. Our own Herb Pull-Apart Bread uses the same technique with parsley, chives and dill.
Which Thermomix® models work for this recipe?
The TM5, TM6 and TM7 handle the 600 g of flour without any problems in one batch. With the TM31 it is better to divide the dough into two portions of 300 g each, because 600 g is at the capacity limit for the TM31. The kneading time of 2 minutes on kneading mode remains the same for all models.