


Chocolate glaze can quickly turn from a silky coating into a grainy, greasy-looking mass in the pan. The trigger is almost always the same number: 50°C. Once the chocolate goes above that temperature, the cocoa butter separates from the cocoa solids, and dull streaks appear on the finished cake. The Thermomix® holds precisely at that threshold, which makes it the most reliable tool for a glossy chocolate glaze.
We have been making this glaze regularly for years, most often for cream layer cakes, marble cake and gingerbread at Christmas. We know exactly where the pitfalls are: temperature, consistency and the timing of when the glaze goes onto the cake. With two ingredients, five minutes and a clear sequence, the result is a glaze that sets mirror-smooth and cuts cleanly.
Chocolate Glaze with the Thermomix®

Ingredients 0 / 2 ✓
- 200 g chocolate
- 20 g coconut oil e.g. Palmin
Instructions 0 / 3
-
1
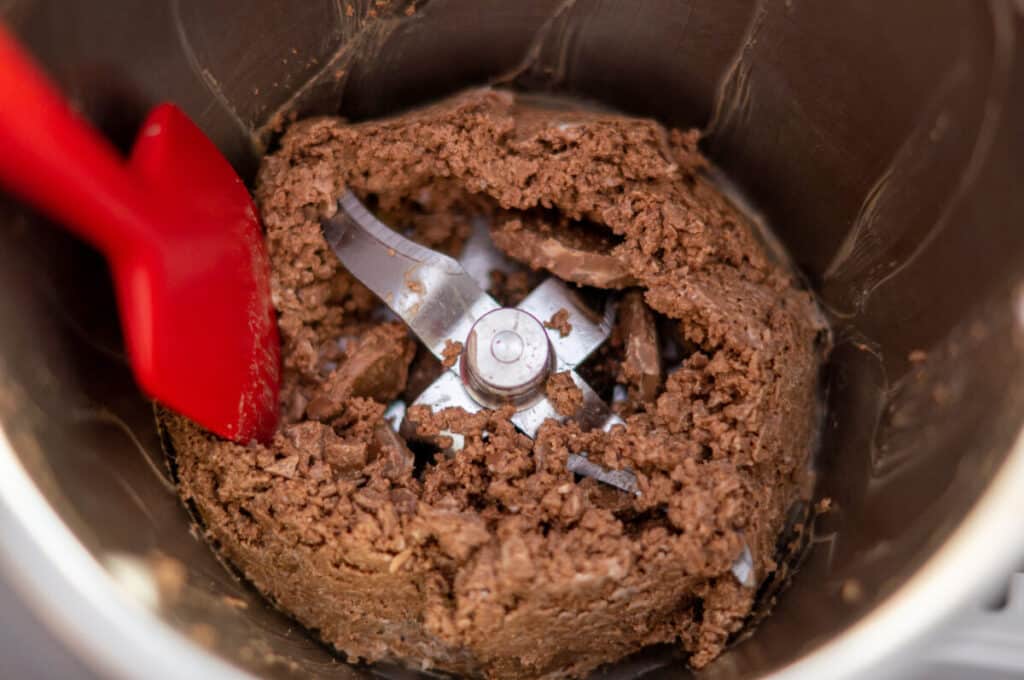
Chop the chocolate.
Break the chocolate and coconut oil into pieces, place in the mixing bowl and chop for 8 seconds / speed 8.
-
2
Melt the chocolate.
Push down with the spatula, then melt for 5 minutes / 50°C / speed 1.
-
3
Use the glaze.
Use the chocolate glaze immediately.
Tip: You can spread the chocolate glaze over a warm cake straight away, which keeps the inside nice and moist.
Nutrition per serving
Why 50°C is the upper limit
Chocolate is an emulsion of cocoa solids, cocoa butter and sugar. This emulsion stays stable as long as the cocoa butter softens without getting too hot. Confectionery textbooks cite 45°C to 50°C as the safe melting range for milk and dark chocolate. Above 50°C the fat crystals begin to break free from the structure. The result is graininess, a dull surface and, in the worst case, a grey fat bloom that becomes visible on the cake once it sets.
On the hob, this threshold is difficult to hit. Residual heat in the pan keeps climbing, the base gets hotter than the sides, and a few seconds of inattention can push the temperature to 60°C. In the Thermomix® we set 50°C / speed 1 and the machine holds that temperature precisely. The blade turns slowly, pushes the chocolate from the outside inward and ensures the heat is distributed evenly through the mass. Scorching at the base is physically impossible here, because no part of the bowl gets significantly hotter than the set temperature.
How couverture and cream become a mirror glaze
- Coconut oil as a clean-cut booster. 20 g of coconut oil per 200 g of chocolate shifts the melting point of the glaze slightly upward and makes the finished layer clean-cutting without turning hard and brittle. Without this fat, the glaze splinters when you slice the cake.
- Chopping and melting in one bowl. We break the 200 g of chocolate roughly, place it in the mixing bowl together with the coconut oil and chop everything for 8 seconds at speed 8. The finely chopped mass melts much faster and more evenly than large pieces. No second pot for chopping is needed.
- Steady melting temperature without a bain-marie. Classically, chocolate is melted over a bain-marie so nothing gets hotter than the water below. The Thermomix® replaces the bain-marie because it sets the temperature directly inside the mixing bowl and distributes it through slow stirring at speed 1. One fewer piece of equipment, one fewer risk.
Which chocolate to use
The type of chocolate determines the gloss, flavour and melting behaviour. We most often use milk couverture for sweet cakes, dark chocolate with 55% to 60% cocoa for marble cake and gingerbread, and white couverture for berry cakes. Supermarket chocolate bars work too, though they take a little longer to melt because their cocoa butter content is lower than that of true couverture. With bar chocolate we extend the melting time to 5 to 6 minutes / 50°C / speed 1.
White chocolate is the most delicate case. It contains no cocoa solids, only cocoa butter, milk powder and sugar. It starts to soften at 45°C and runs freely by 48°C. For a white glaze we reduce the setting to 4 minutes / 45°C / speed 1 and check the spatula for any remaining solid pieces. It is better to melt for two minutes longer than to let it overheat once.
What makes our recipe different from the usual Thermomix® glazes
Most chocolate glaze recipes for the Thermomix® use 55°C at speed 2 or send the chocolate straight into a bain-marie. Both work, but both sit closer to the critical threshold at which the emulsion breaks. We deliberately stay at 50°C / speed 1 because this range is forgiving even for sensitive milk couverture and does not cause dull streaks on the finished cake. The ratio of 200 g chocolate to 20 g coconut oil is also deliberately lean: enough to keep the glaze clean-cutting, yet little enough that the chocolate flavour is not masked by the fat.
When to apply the glaze to the cake
This is where the second major mistake with chocolate glazes happens. The glaze is poured straight after melting onto a barely warm or still-warm cake, runs completely off the sides, and only a thin, patchy layer remains on the surface. The reason: the residual heat of the cake keeps the glaze fluid, it becomes too thin and gravity pulls it away.
We always let the cake cool completely before glazing, ideally for one hour on a wire rack and up to two hours for dense cakes such as marble cake. Only then do we apply the finished glaze. At that point it is lukewarm, flows smoothly from the spatula and spreads cleanly across the surface. We make one exception for gingerbread and small biscuits: here a slightly warm base does no harm, because the glaze is applied in a thinner layer and sets faster over the smaller surface area.
Where chocolate glaze goes dull or cracks
1. Glaze turns grainy after melting
The mass in the mixing bowl does not look smooth but shows small lumps or a sandy texture. The cause is almost always moisture. Even a few drops of water in the mixing bowl are enough to make chocolate seize. The blade must also be completely dry after washing.
Our fix: Wipe the mixing bowl and blade dry with a kitchen towel before melting. If the glaze seizes anyway, we rescue it by adding one tablespoon of neutral-flavoured vegetable oil and stirring it in at 1 minute / 50°C / speed 2. This brings the emulsion back.
2. Glaze runs completely off the cake
The glaze flows off the sides and only a thin film remains on the surface. In this case the cake is still too warm, or the glaze has become too runny.
Our fix: Let the cake cool for at least one hour, or two hours for large cakes. If the glaze has stayed too liquid, we leave it in the mixing bowl and stir without heat at speed 1 for two to three minutes. This brings it back to the right, syrup-like consistency.
3. Glaze splinters when cut
When slicing, the glaze breaks into sharp pieces and tears away from the cake surface. This happens when the chocolate was melted without any fat addition, or the glaze was applied too thickly.
Our fix: The 20 g of coconut oil, or alternatively 1 tbsp of neutral-flavoured vegetable oil, are essential. Both shift the melting point downward and make the set glaze more pliable. Apply the glaze in a thin, even layer rather than letting it sit in a thick coat.
With white chocolate, cocoa or nut oil
- Cream variation for more richness. Instead of 20 g coconut oil, use 50 g whipping cream. The glaze becomes softer, has a stronger shine and resembles a simple ganache. The melting time stays the same: 5 minutes / 50°C / speed 1. If you are looking for a full cake filling, our Ganache recipe is a better choice.
- Vegetable oil instead of coconut oil. Using 1 tbsp of neutral-flavoured oil such as sunflower or rapeseed oil makes the glaze noticeably shinier. Flavour-wise it is more neutral than coconut oil, but it is less firm at room temperature.
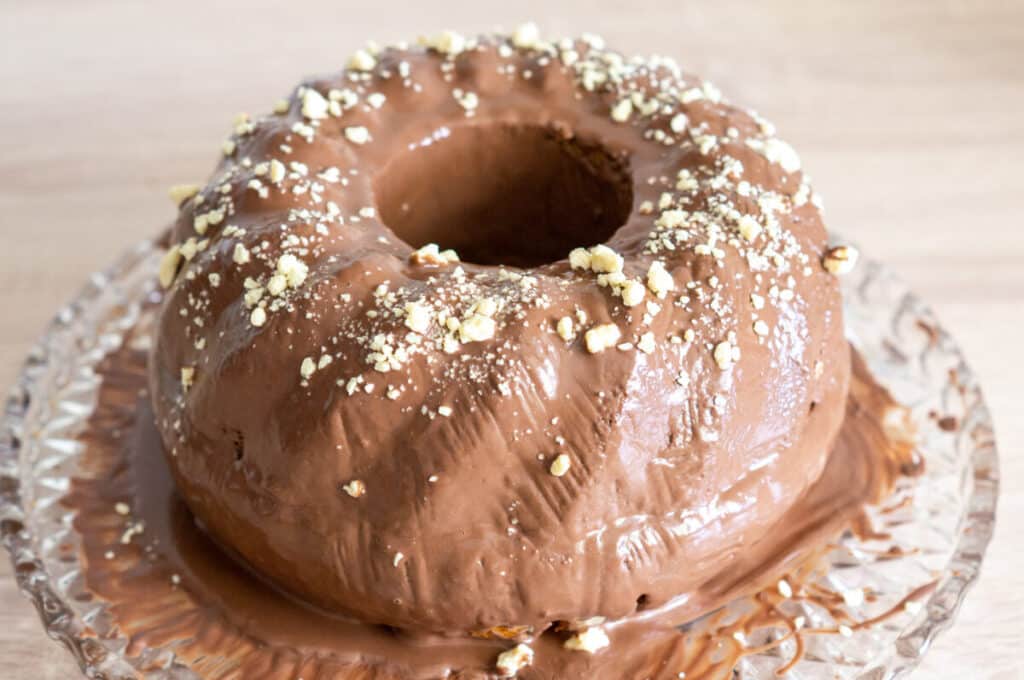
- White chocolate with berries. Melt 200 g of white couverture with 20 g of coconut oil at 45°C / speed 1, then scatter with dried raspberries or pistachio kernels. Works particularly well on cheesecakes and light sponges.
- With espresso for a grown-up touch. Add 1 tsp of instant espresso powder to the chocolate before melting. It lifts the chocolate flavour noticeably without making the glaze taste of coffee. Works well with marble cake and chocolate tarts.
Which cakes and baked goods suit this glaze
This glaze is our go-to when a cake needs a quick, neat finish. It works on paradise cream cake just as well as on a simple marble cake, on gingerbread from the baking book or on Donauwelle with buttercream. If you want a more elegant, thicker coating for celebration cakes, a ganache made with cream and chocolate is a better option. For biscuits and pralines, tempered couverture is recommended, which we explain in a separate post.
5 days in the fridge, leftovers as a truffle base
We pour the finished glaze over the cake in one go and leave it to set at room temperature for one to two hours. In the fridge it sets faster, but loses some of its shine and can become more brittle when cut later. We prefer room temperature and cover the cake with a cake dome rather than cling film, so the surface stays undamaged.
We leave any remaining liquid glaze in the mixing bowl to cool completely, then scrape it into a small jar with the spatula and store it sealed in the fridge. It keeps for about two weeks. Before the next use, place the jar in hot water for 2 minutes, then transfer the contents back into the mixing bowl and re-liquefy with 3 minutes / 50°C / speed 1. Freezing works less well because the coconut oil forms cracks when thawing.
Goes well with: Cake, muffins and doughnuts.
If any leftovers collect on the baking tray or on a piece of baking paper, it is worth dropping small rounds onto it and leaving them to set. These chocolate drops go into a tin next to the tea at our house and are later used as a topping for yoghurt or quark, or simply enjoyed as a little treat.
More chocolate recipes and matching cakes from our kitchen:
- Ganache with the Thermomix®
- Paradise cream cake with chocolate glaze
- How to use Thermomix® temperatures correctly
- 12 facts about the Thermomix® blade