


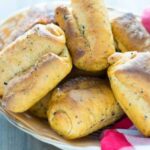
We have been baking these rolls for barbecue evenings for years. The Thermomix® kneads the dough with olives, feta and peppers in 4 minutes, and the kneading mode distributes the fillings evenly without crushing them.
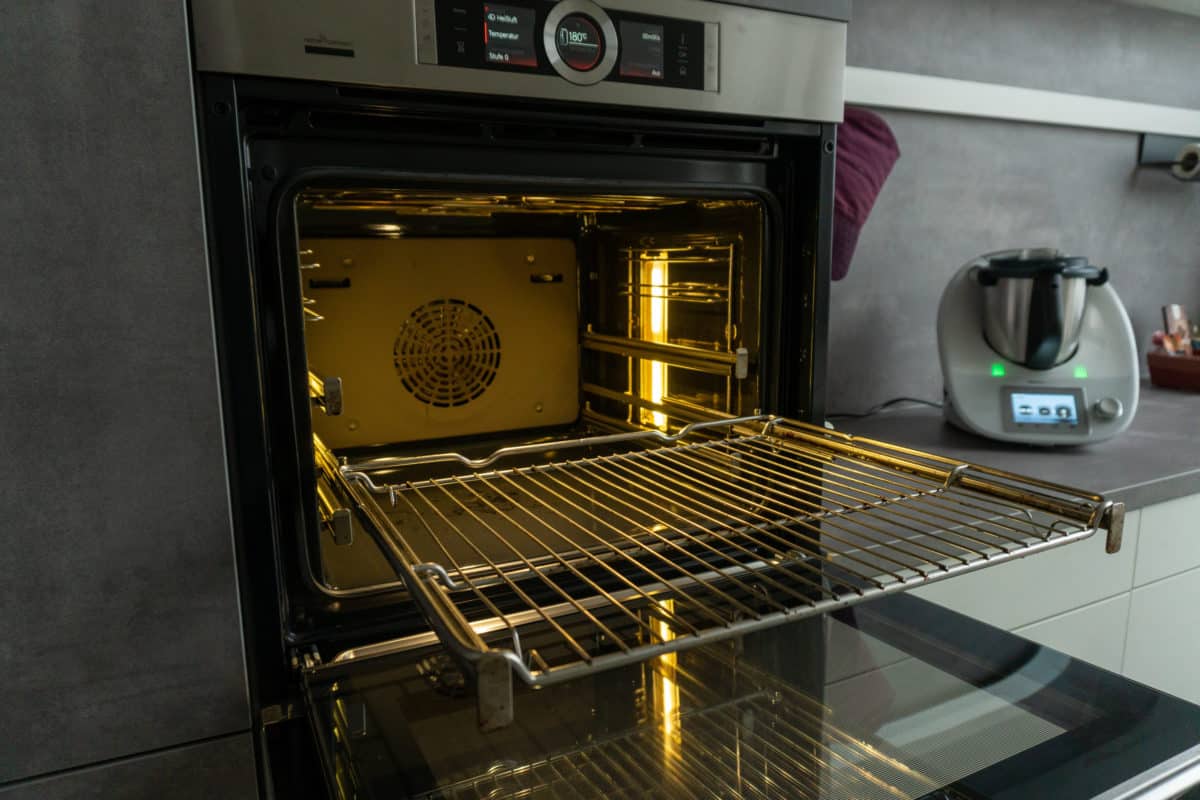
The water tray in the oven is not a decorative detail. 200 g of water on the lowest shelf creates steam that keeps the crust crisp and the crumb moist. Without this steam, the rolls turn hard on the outside and dry on the inside. That is the difference between bakery quality and home baking.
Mediterranean Rolls with the Thermomix®
Ingredients 0 / 9 ✓
- 100 g marinated roasted peppers or grilled marinated peppers
- 70 g black olives (pitted)
- 100 g feta
- 1/2 cube fresh yeast
- 170 g water warm
- 550 g flour, type 550 (strong white bread flour) (plus a little extra for the work surface)
- 2 tsp salt
- 1 tsp honey
- 200 g water (for the oven)
Instructions 0 / 7
-
1
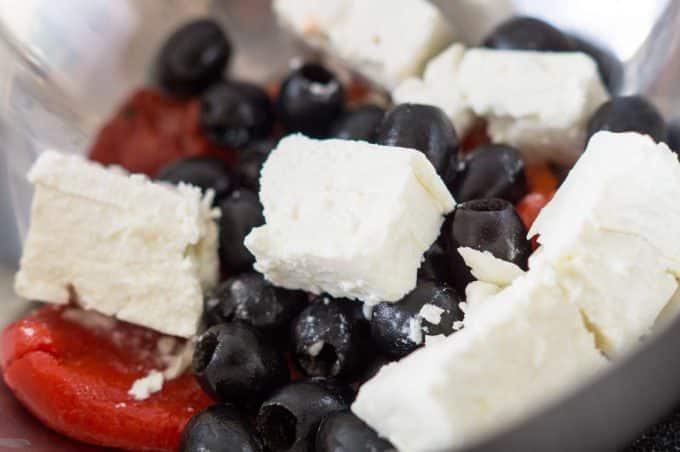
Chop peppers and olives.
Drain the peppers and olives, place in the mixing bowl together with the feta and chop for 4 sec / speed 4.
-
2
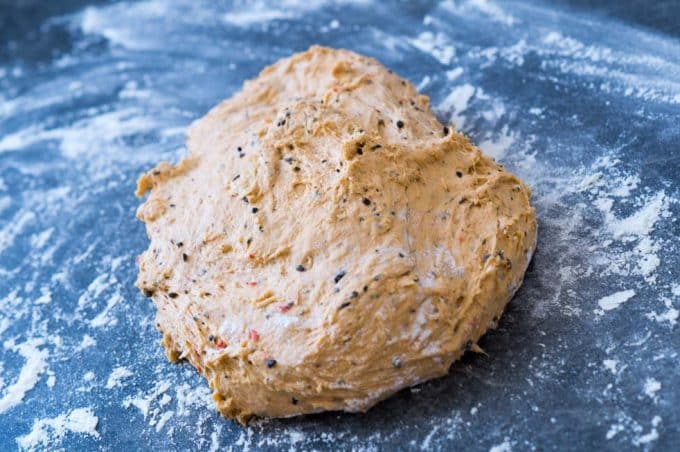
Knead the dough.
Add the yeast, water, flour, salt and honey to the mixing bowl, knead for 4 min / kneading mode, set aside and leave to prove covered for 1 hour 30 minutes.
-
3
Prepare the baking tray. Meanwhile, line a baking tray with baking paper.
-
4
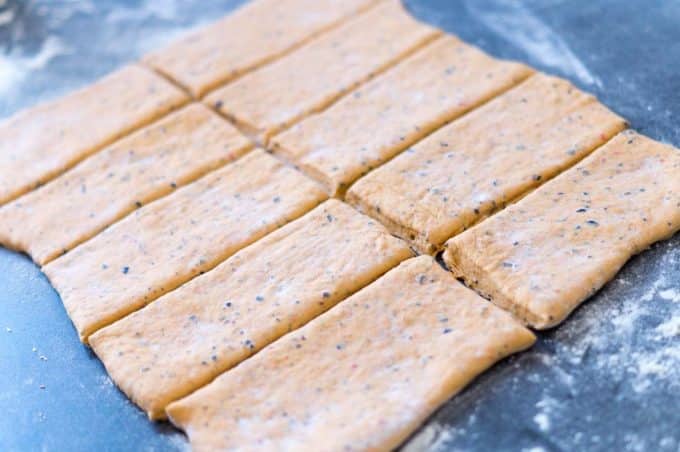
Roll out the dough.
Roll the dough out on a lightly floured surface to approximately 1 cm thick, dust with a little flour and cut into 10 pieces.
-
5
Roll up the dough and leave to prove.
Roll up each piece of dough from the shorter side, press firmly to seal, place on the baking tray and leave to prove for another 15 minutes.
-
6
Preheat the oven. Meanwhile, preheat the oven to 250°C.
-
7
Bake the rolls.
Pour the water onto a second baking tray or the drip tray on the lowest shelf of the oven. Place the baking tray with the rolls on the middle shelf and bake for 20 to 25 minutes until golden brown. Warning: hot steam will escape when you open the oven door!
Note: This recipe requires an additional baking tray or another oven-safe dish.
Nutrition per serving
Why speed 4 for the fillings
The peppers, olives and feta are chopped before the dough is made, at 4 seconds speed 4. Less time leaves pieces too large, more time turns them to paste. At speed 4, the fillings remain as visible chunks but release enough juice to spread through the dough later.
Important: drain the peppers and olives first. Too much liquid from the jar makes the dough sticky, and you will need significantly more flour when rolling it out.
4 minutes of kneading mode is enough
The dough is kneaded at full kneading mode for 4 minutes. During this time the gluten develops the structure it needs, the yeast is distributed and the fillings are incorporated. Less time leaves pockets of flour, more time overheats the dough.
After kneading, the dough needs 90 minutes to prove covered at room temperature. It should visibly increase in size and spring back slowly when pressed with a finger. If it springs back immediately, it is not ready. If the indent stays, it has over-proved.
1 cm thick when rolling out
After the first prove, roll the dough out on a floured surface to 1 cm thick. Thinner gives flat, dry rolls. Thicker and they will not cook through in the middle. 1 cm is the point at which crust and crumb stay in balance.
Cut the dough into 10 equal rectangles, roll each one up from the short side and press the seam firmly to seal. If you do not seal them well, they will unroll during baking.

15 minutes second prove
The shaped rolls need another 15 minutes on the tray. During this time the gluten relaxes after rolling, and the rolls turn out lighter when baked. If you bake them straight away, they stay dense.
250°C and the steam tray
Preheat the oven to 250°C top and bottom heat. Pour 200 g of water onto a second tray or the drip tray and slide it onto the lowest shelf. The rolls go on the middle shelf for 20 to 25 minutes.
The steam from the lower tray keeps the surface moist during the first few minutes, the crust forms more slowly and turns crispier. At the same time, the moisture keeps the crumb tender. Without the steam tray, the heat pulls moisture out of the rolls straight away.
Warning when opening the oven: the steam is hot and will come straight at you. Turn your face away from the oven.
Shape as baguettes instead
Instead of 10 rolls, you can shape the dough into 2 elongated baguettes. After the first prove, divide the dough in half and shape each half into a strand about 30 cm long. Score the surface diagonally (3 to 4 cuts), which prevents cracks during baking.
The baking time stays the same, but the baguettes need more space on the tray.
Bake the day before
The rolls keep in a tin at room temperature for 2 days. After that they go dry. You can also bake them the day before, leave them to cool completely and warm them up the next day at 180°C for 5 minutes.
Goes well with: Hummus and Tomato Mozzarella dip.
Also great: Chocolate Rolls with the Thermomix®.
Freezing works well. Leave the rolls to cool completely after baking, then pack them individually in freezer bags. When needed, bake directly from frozen at 180°C for 10 minutes.
More Thermomix® bread recipes: Pizza Dough, Overnight Rolls, Ciabatta.